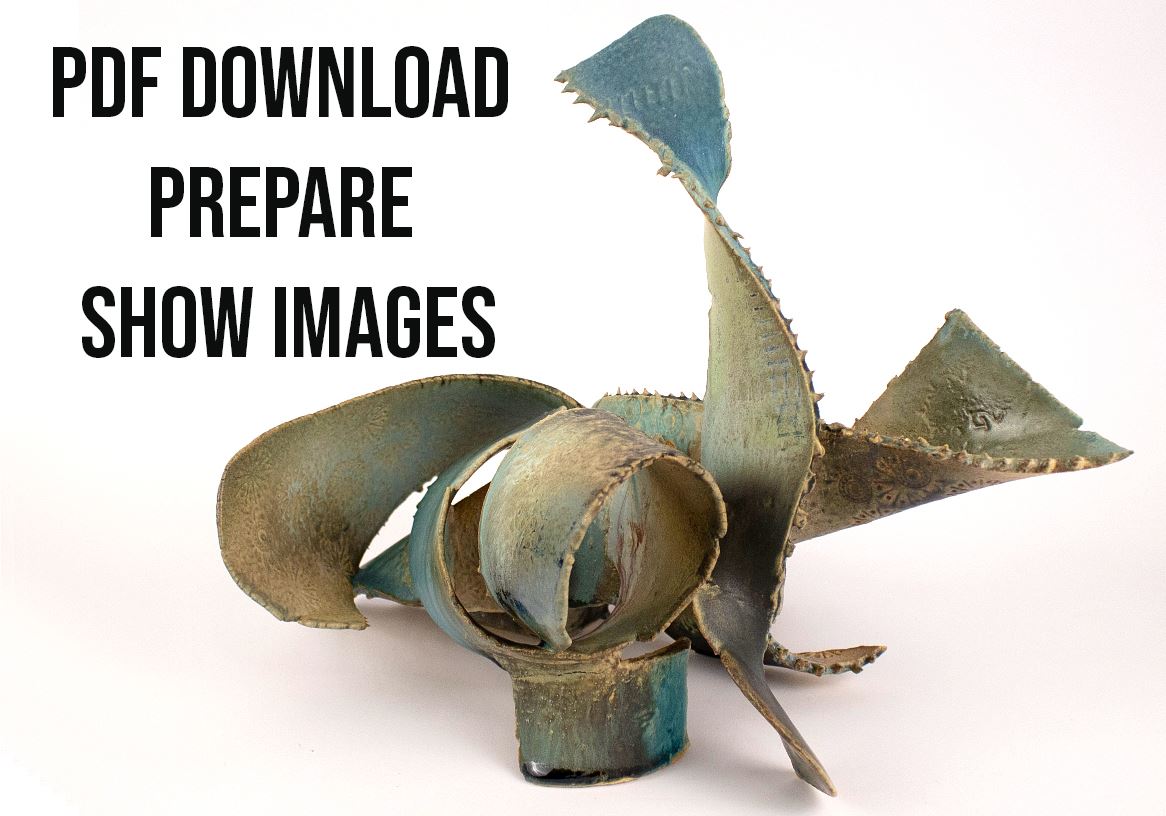
| How to Prepare Show Images |
This article uses an easy online free editor anyone can use with any type of computer. The editor is www.pixlr.com/x/. If you use some other tool for your image preparation, such as PhotoShop or Elements, you can still benefit from these instructions to see how to make your image file meet requirements. Prior to starting these instructions, take your photos with your own digital camera and download the image files, or get the digital images from your photographer. Place the image files in a specific folder that you can find on your computer. We recommend you have one folder for the original images, and another folder set up for the prepared images that you will be uploading to the Show upload site. |
Step One Open the Editing Browser Step Two Crop your Image Step Three Adjustment and Filters Step Four Save a High Resolution Image Step Five Save a web Image |
Specifications for ImagesBefore you can prepare the image, you must have one or more digital images of the work(s) that you want to enter. There are specific requirements for taking these images for an upcoming show in the Celebration of Clay. Each show will have special requirement such as the background Guidelines, or other requirements. Refer to the notes in the application for entering the show.Web site Image:One digital image per entry as jpg file, minimum 800 pixels on longest dimension, maximum 1280 pixels wide, 800 pixels high, and not exceed 1 MB in size.High Resolution Publicity Image:If you are submitting an image with expectation to have it used in publicity, please have readily available a higher resolution image, recommend minimum 1500 x 2100 pixels, 300dpi. If your image is selected for publicity, we will contact you for the larger image.Name the Image:Name file with your last name, first name, underline, title, and entry number for example:SmithSara_BlueHeronMugSet1.jpg |
Start by opening the editor in your computer browser: www.pixlr.com/x/.
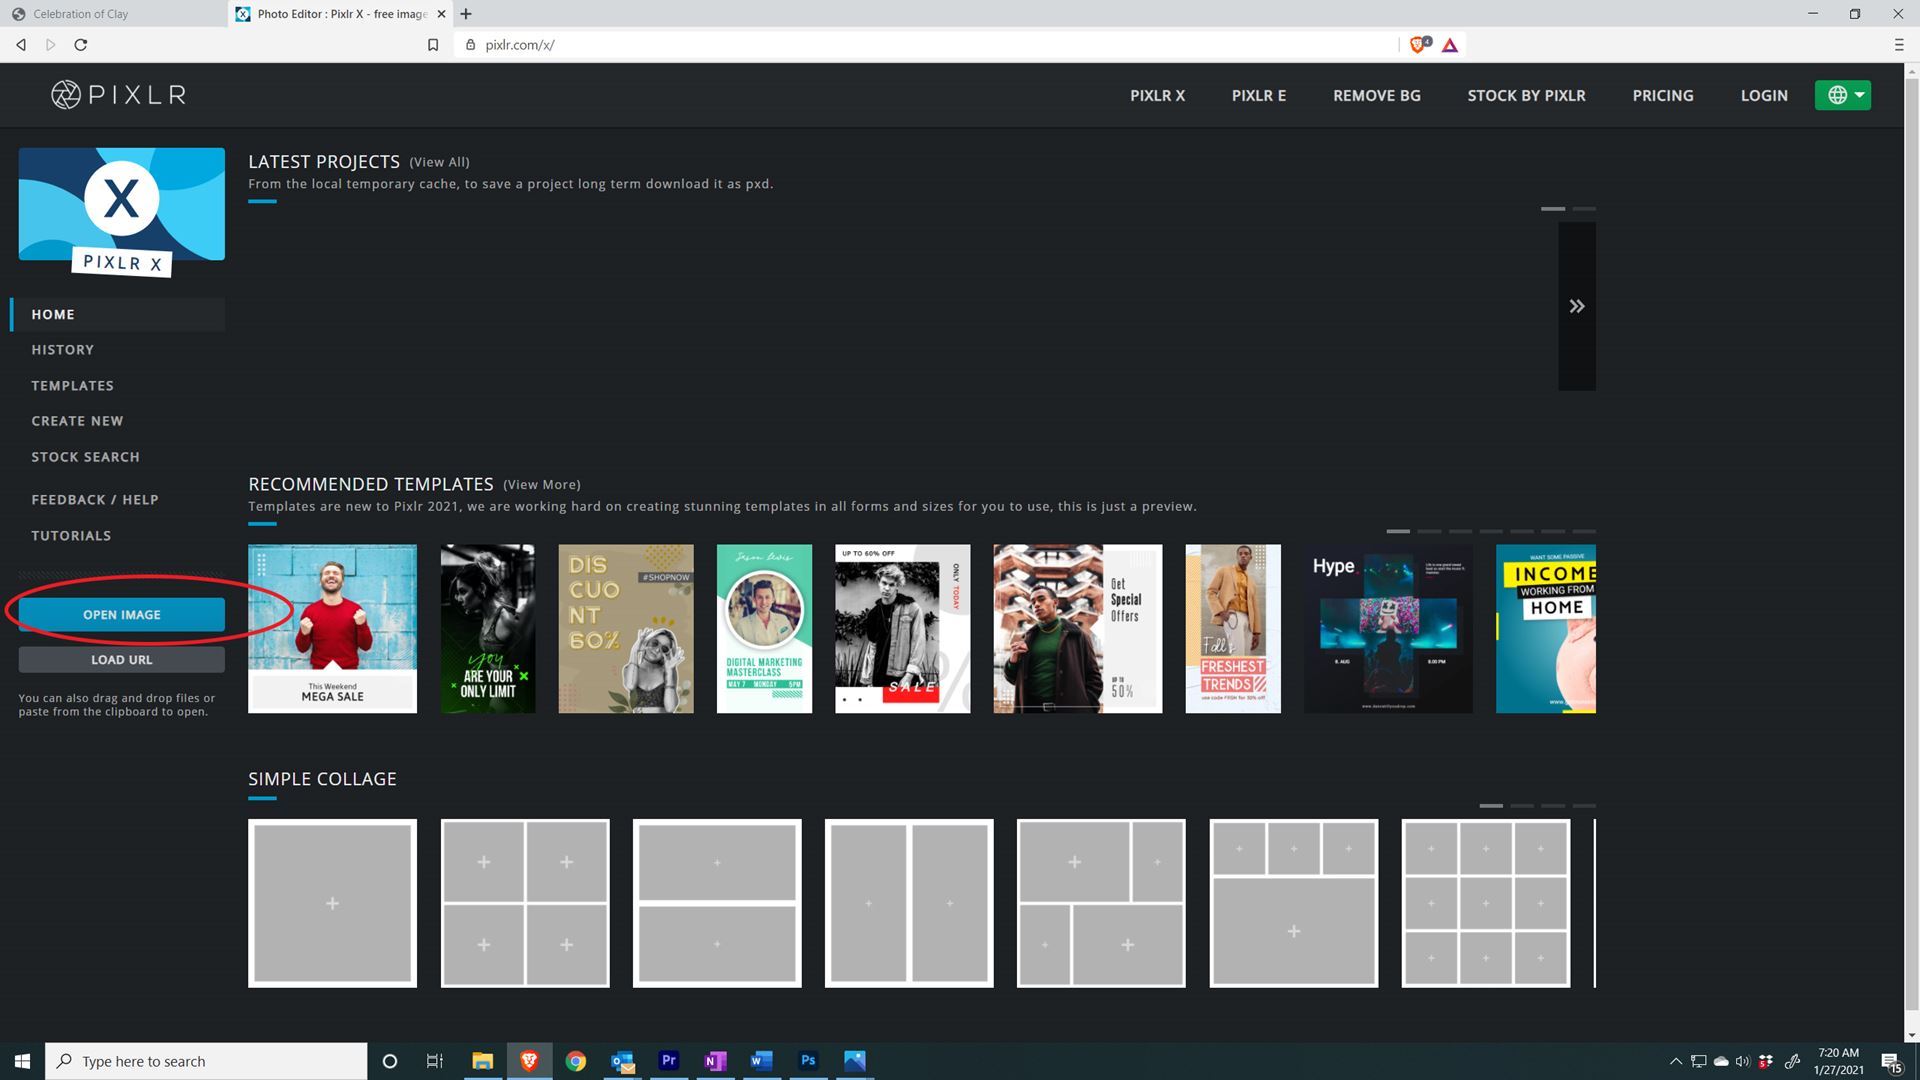
Click on the “Open Image” button. A window to your computer folders will open. Find the folder where you put the original images and click the image you want to work with; then click “open.”
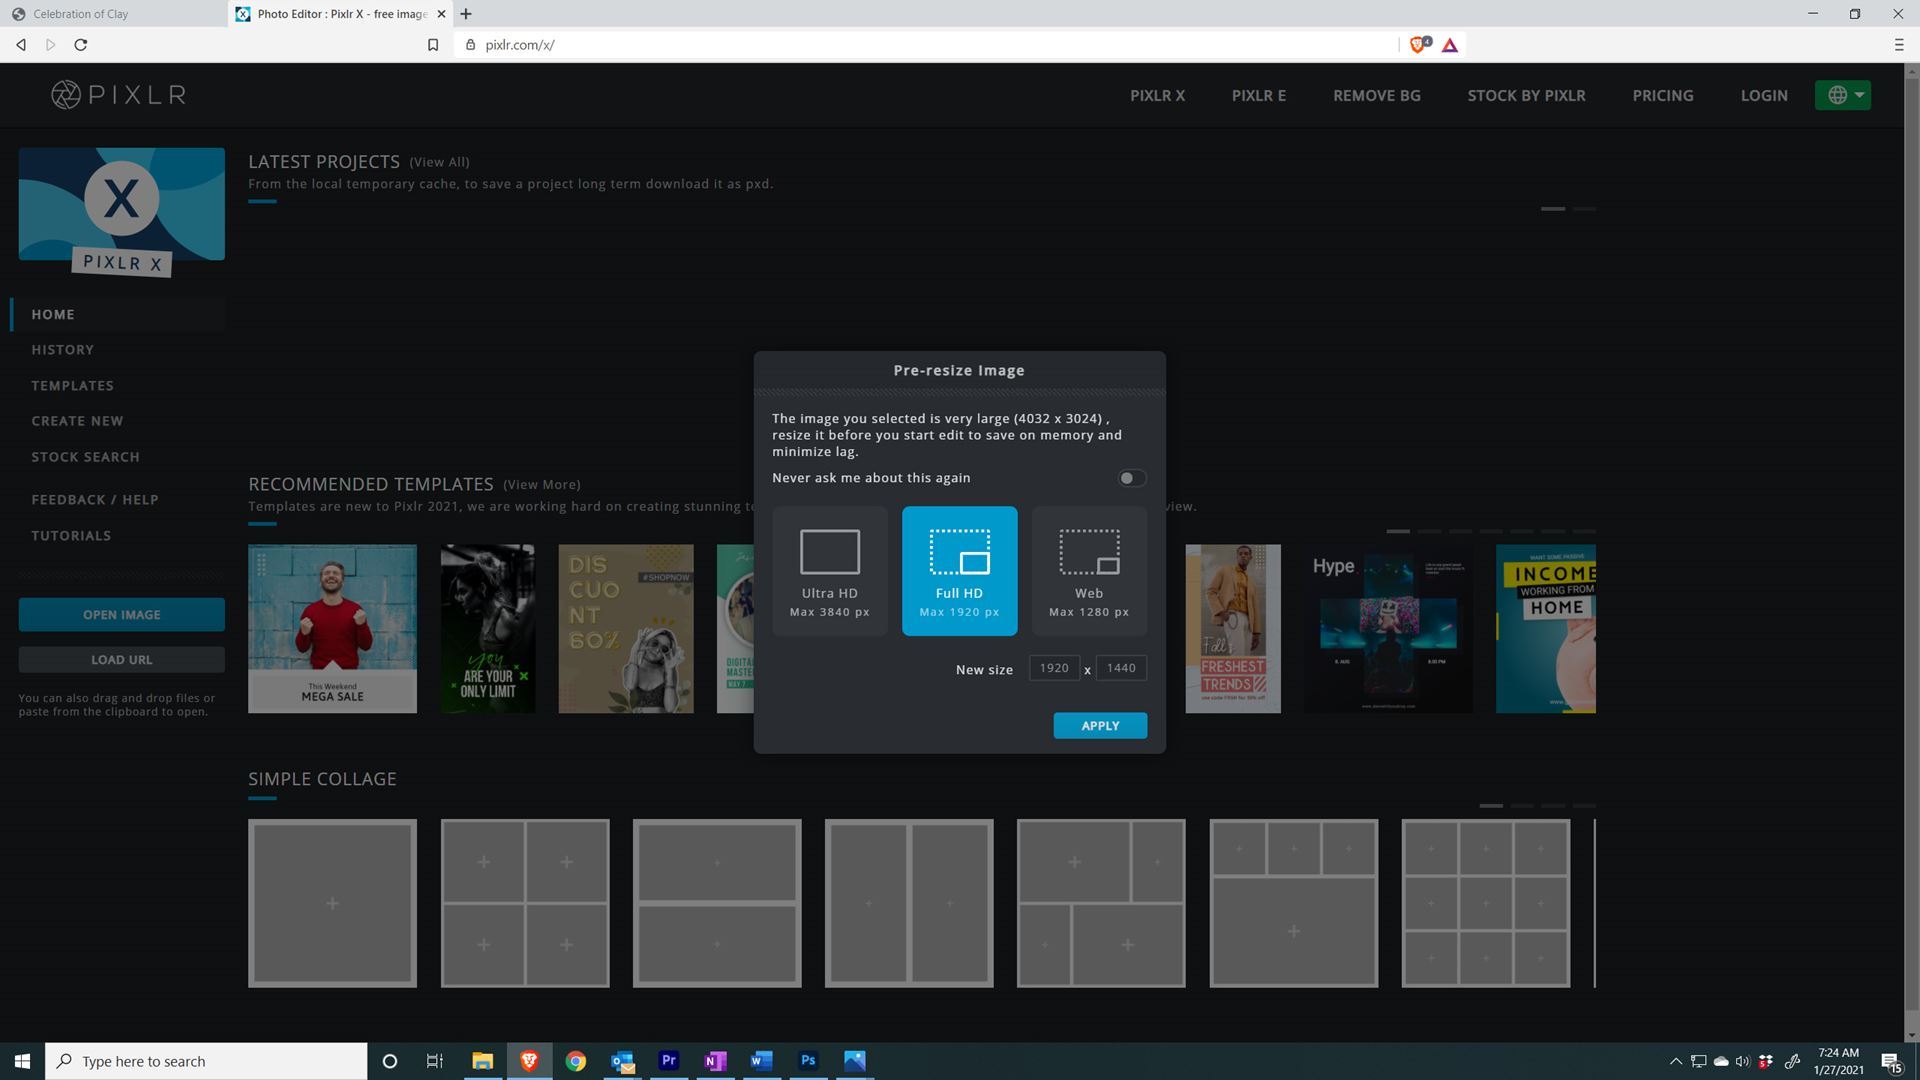
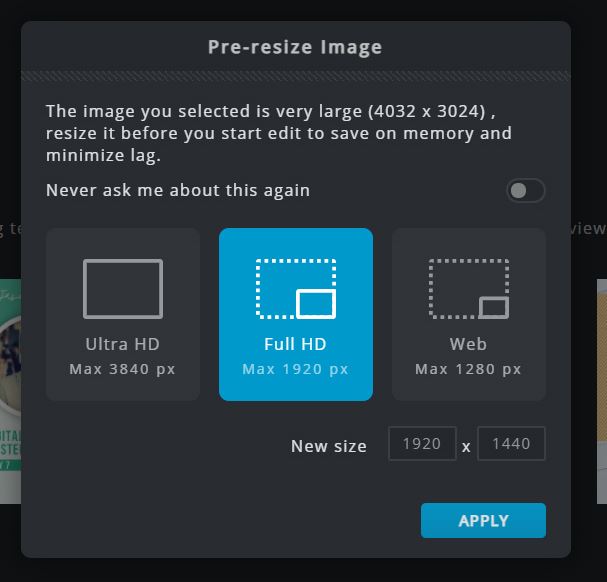
A Popup screen will appear, asking you to “pre re-resize image”. You can select Ultra HD or the Full HD, you can resize the image later in the process. Select the "Apply" button.
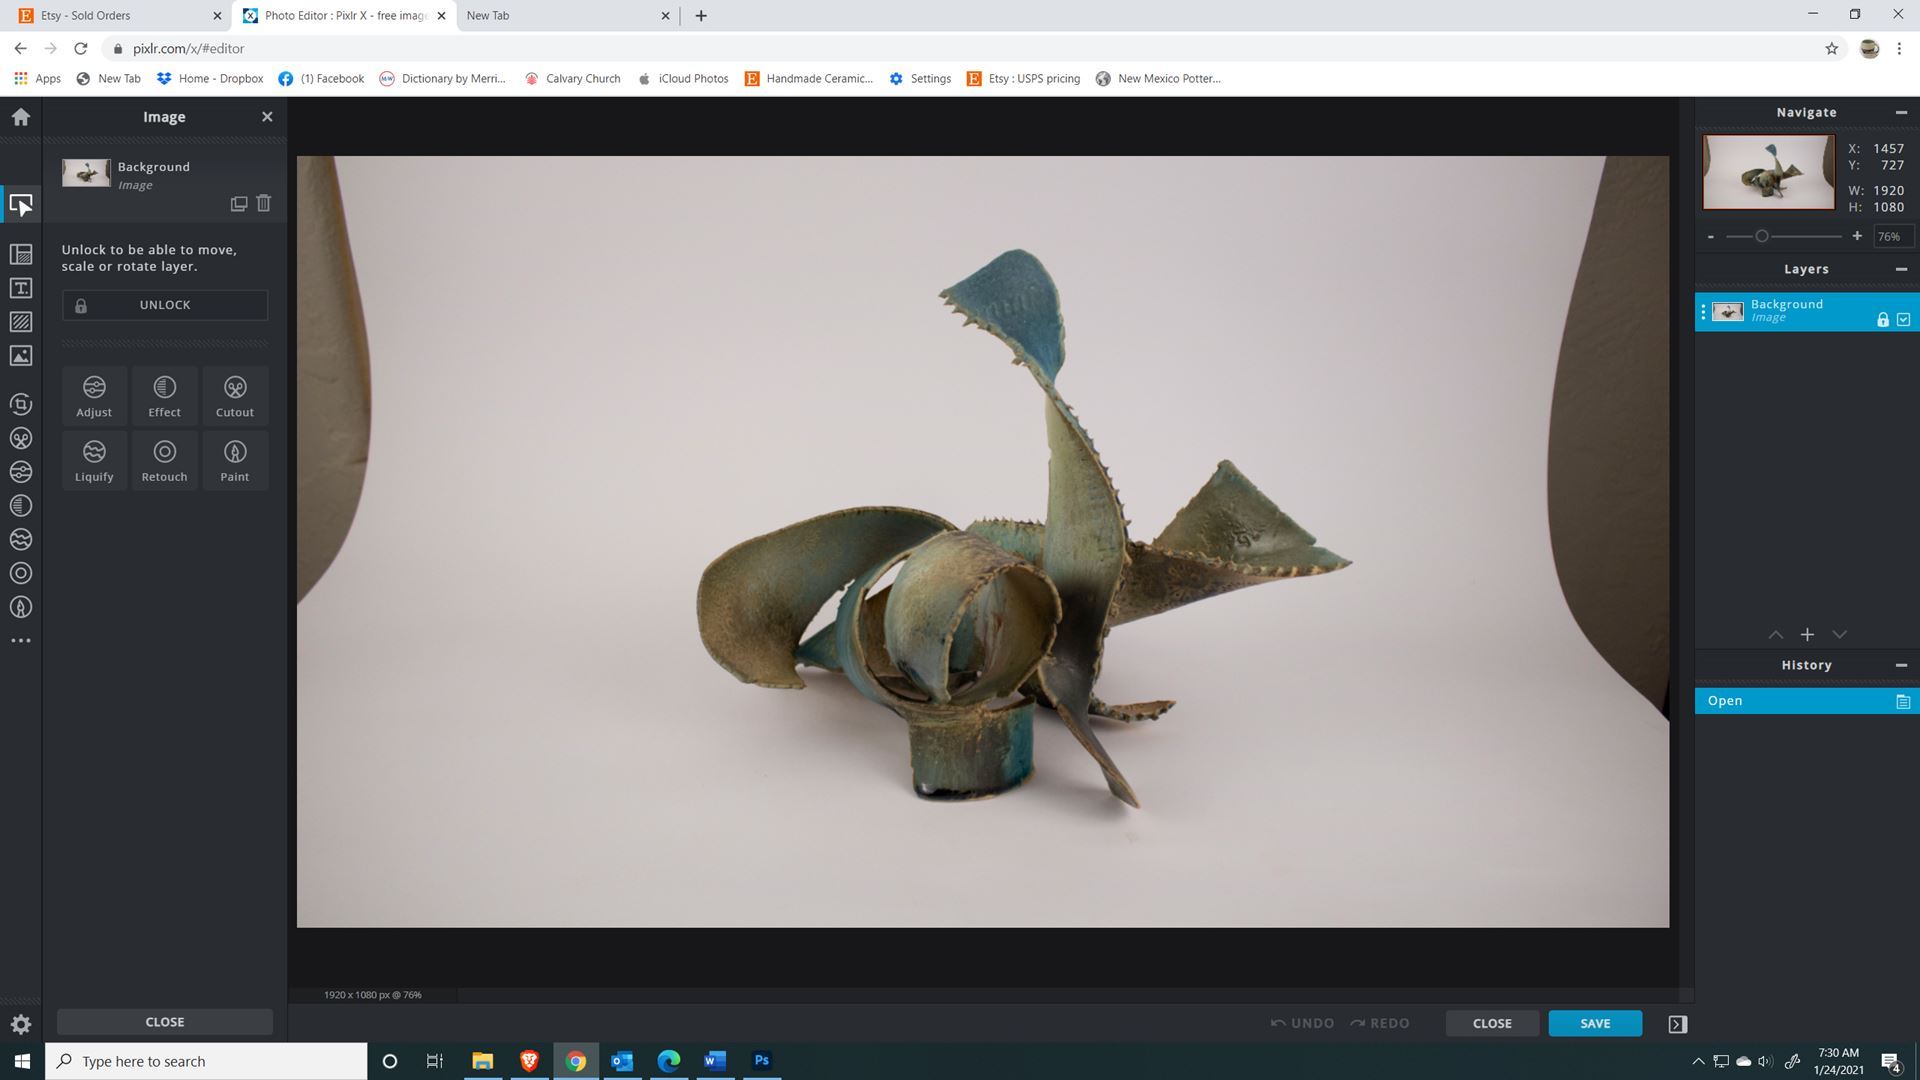
Your image will open up in the Pixlr editor window with the toolbar on the left and Navigation on the right.
Note that changes you make and click APPLY can still be backed out by clicking the Undo button located in the lower panel of the screen.
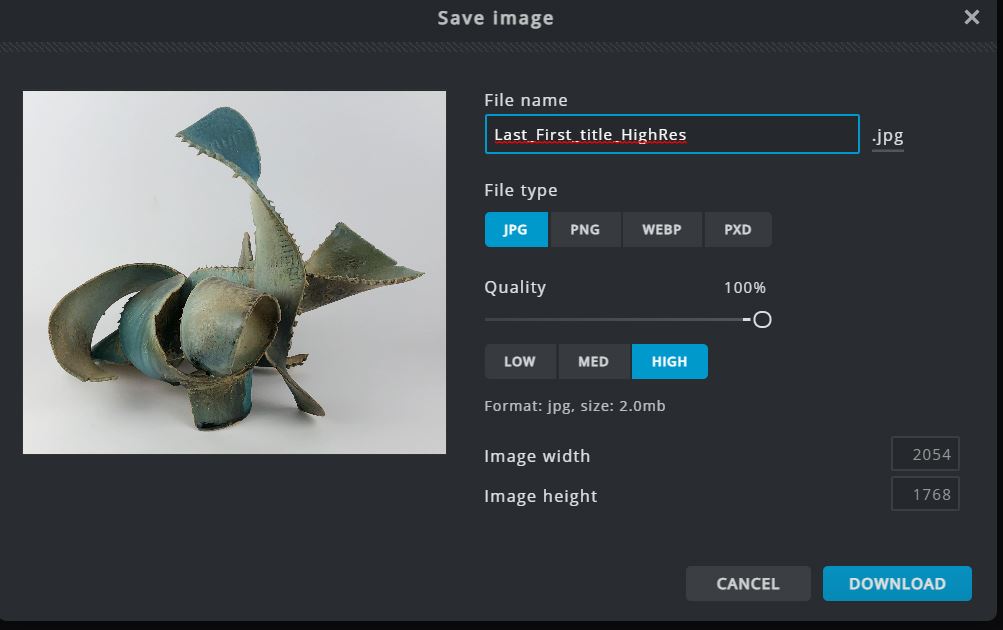
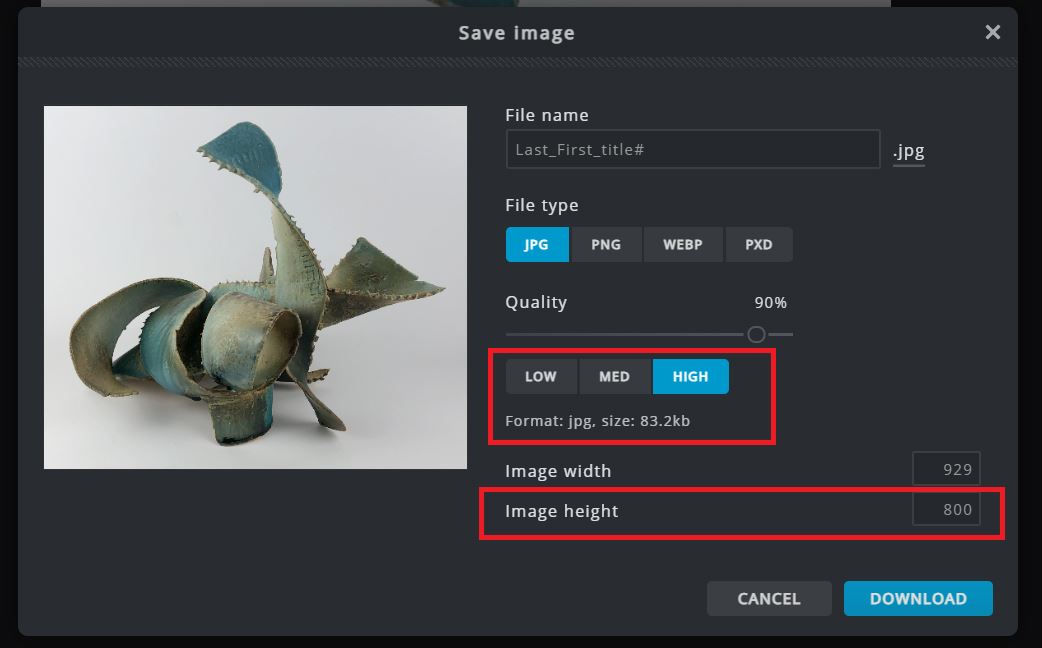
Once you have made your changes, you are ready to save the file. Click the" SAVE" button on the lower right. A pop-up screen will open called Save Image. First change the file name at the top to be your LastnameFirstname_title#High Res. Substitute your name, the title of your piece, and which entry number (1 or 2). Then set the image size by changing the height pixels, move the slider on Quality to 100% you will notice that the jpg size goes up. For the publicity photos, you do not need to worry about the pixel size. Our graphic designer will be able to make any adjustments to the file size from here. Next save the file by clicking the “DOWNLOAD” button and save to your computer in the file you have created.
Once you have made your changes, you are ready to save the file. Click the" SAVE" button on the lower right. A pop-up screen will open called Save Image. Now you need to save a file with different specifications for uploading to the website. Set the file name to your LastnameFirstname_title#. Set the Image height first, click the height box and set the image size. The specifications are minimum 800 pixels on the Image height. The image width will adjust automatically to keep the image in proportion. The file size should not exceed 100kb or 1MB Check the image size just below Quality and the Low Med & High buttons. This should be as close to 100KB (1mb) as possible. Adjust the quality slider and or the Med and High button until you get it as close as possible. Then, click the “DOWNLOAD” button and chose the folder where you are storing the upload files for the show. Question and Additional Resources If you have questions about using this editing program send me an email leonard2leon@icloud.com. You can also look at the accompanying video for guidance. A PDF guide is also available. |

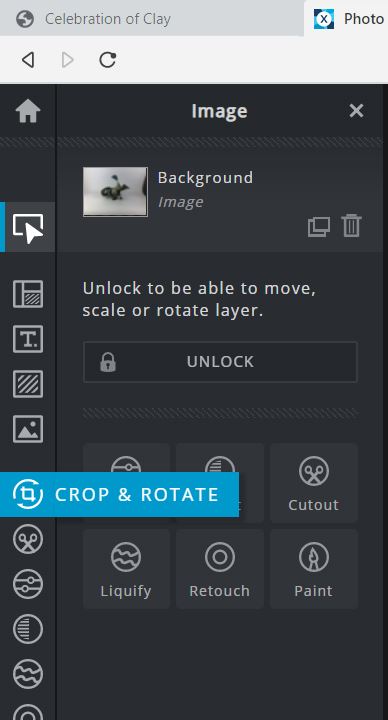 In the tool bar on the left side Click the “Crop & Rotate” tool. Drag the edges to frame the image the way you want. If needed, drag the slider to straighten the image. For the best internet display, you would generally crop the image fairly close to the piece on all sides, leaving even space on either side and slightly more space at the top than on the bottom. Click “APPLY” button, located on the lower left corner to save your crop changes.
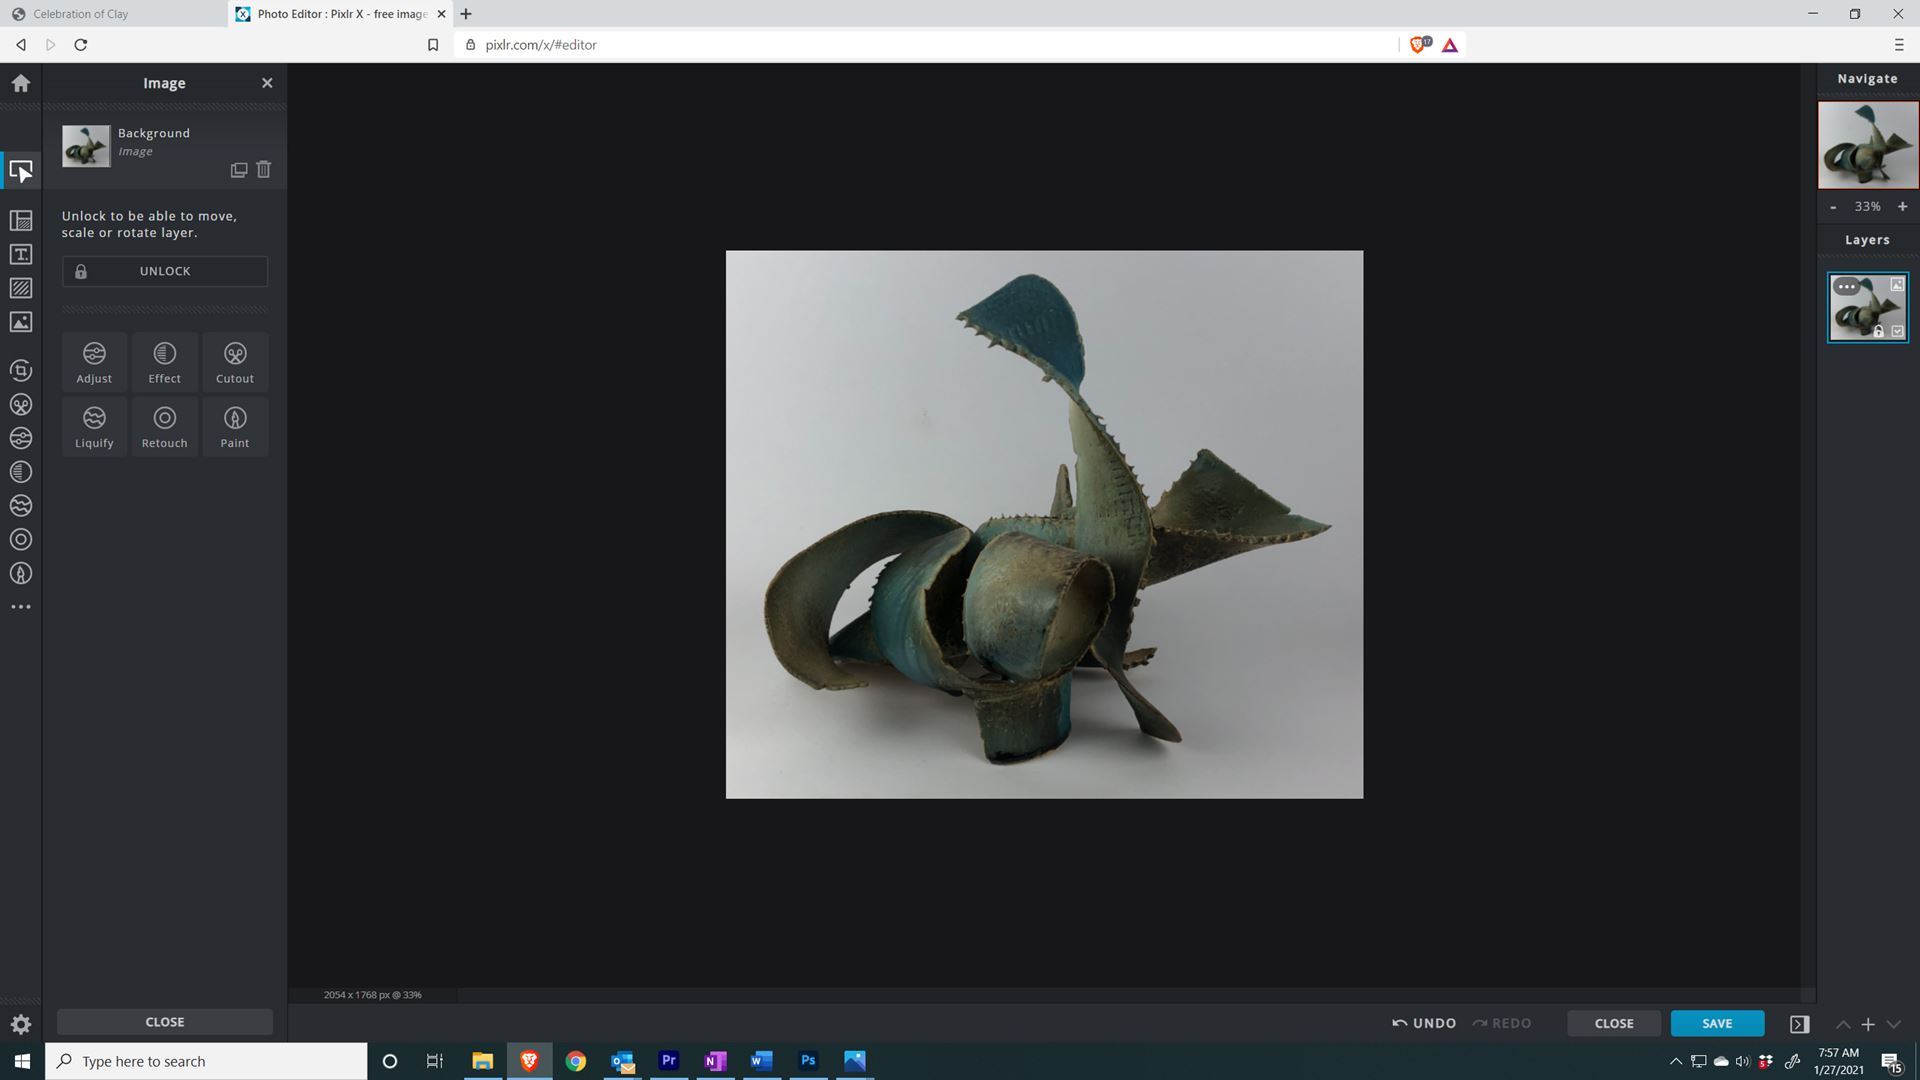
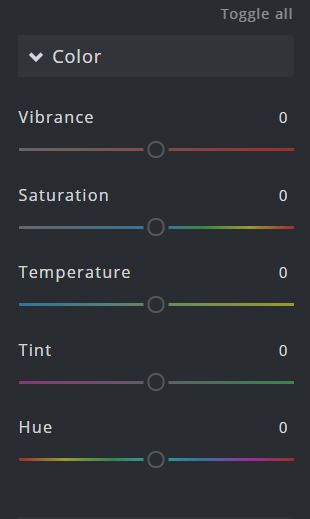
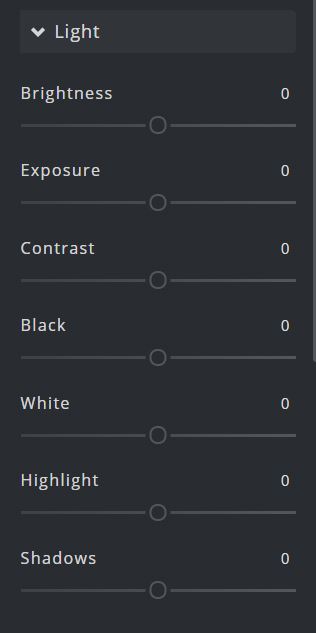
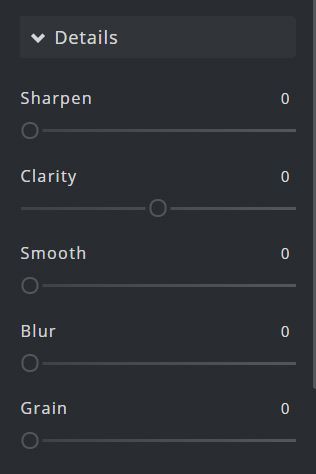
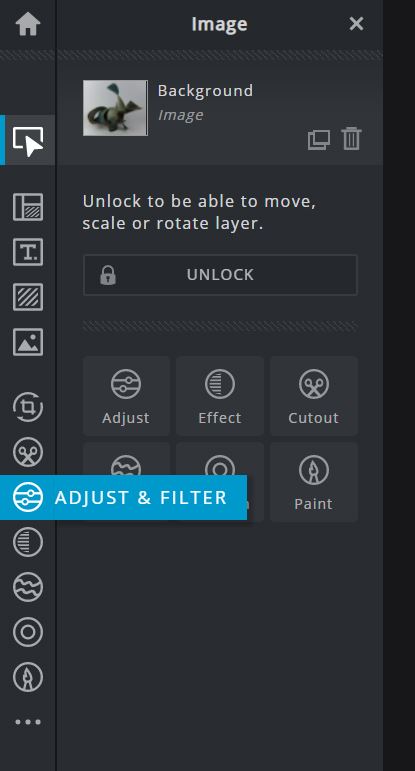 In the tool bar on the left side Click the “Adjust & Filter “. With this tool you can make, adjustments to lighting, color or focus changes. Apply these changes sparingly and only to make the image look most like the work itself. Below are some guidelines for using color, light and details sections of the adjustments. You can also try the Auto Fix adjustment at the top. If you don’t like the Auto Fix change, or any other adjustment, click the “Cancel” button at the bottom left. If you like the change you have made, click the ”APPLY” button.